 Well, Old Blue is back up and running, sounding "strattier" than ever. I received my tremolo bridge from Guitar Fetish yesterday. It came complete with all screws, springs, and a vintage-look arm. I had made a few preliminary measurements on the guitar, so I knew where the bridge had to be located. What I needed to do next was align the bridge so that the saddles would allow the strings to pass over the pole pieces on the pickups. I made those measurements and marked on the surface of the guitar with a sharpee.
Having established the location of the bridge and verified
 that I have a 25 1/2" scale, I then secured the bridge to the guitar in place using some blue masking tape (to avoid marring the finish.) It was time, then, to drill holes for the mounting screws. The screws on a traditional strat tremolo are the fulcrum point for the bridge unit to move on. So, they need to be alligned properly. In this case, I decided to (very carefully) use the bridge itself as my drilling template. I did not want to damage the chrome, but I also did not want to introduce any errors into the drillin
 g.
g.So, first I measured the screws to determine the hole depth. I also checked the diameter of the screw against my various drill bits. Then, using a drill press (to get a true 90 degree hole) I created 6 hole to a depth of 7/8" in the guitar body.
When I had this done, I could then secure the bridge to the body.

The next step is to mount the trem springs in the back cavity of the guitar.
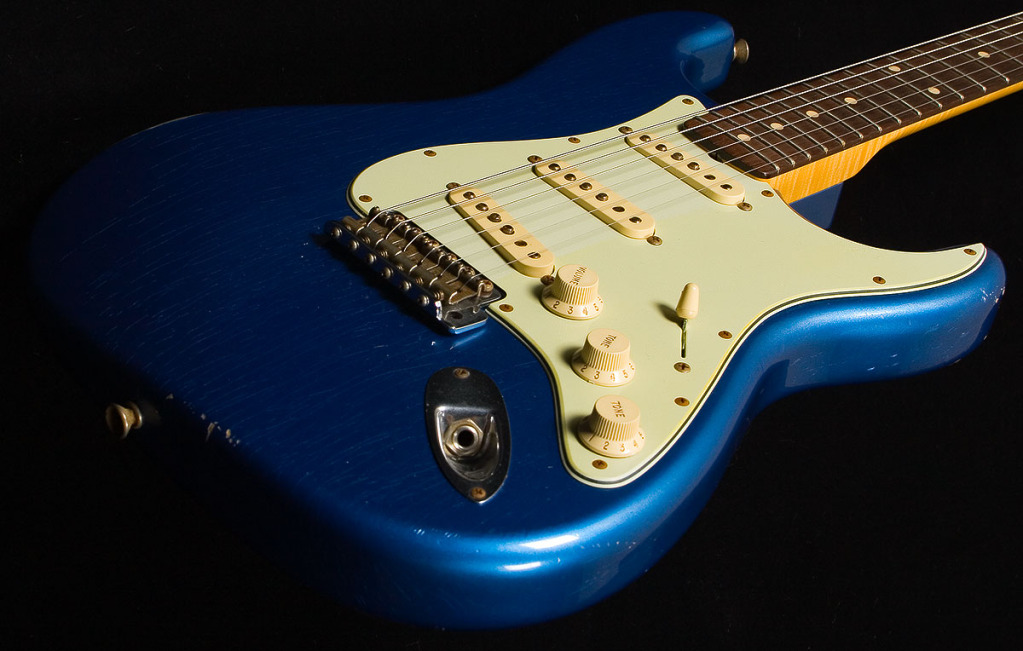
 Then comes the adjustments. Once you string up the guitar, the bridge has to be intonated, the tension adjusted using the screws on the bridge, and the string height and radius set. Once all that is done, VOILA! You have a functioning Fender Stratocaster (Fender, Strat, Stratocaster are all copyrighted trademarks of Fender Guitars).


No comments:
Post a Comment