This is my first video guitar lesson on this site. I hope you enjoy it. This lesson is on ways to make your chord melody solos more interesting.
This is a blog for people who are obsessed with great guitar tone and the undefinable magic that occurs when strings vibrate.
Thursday, June 11, 2009
Elegy for Kenny

I was dismayed this week to learn of the passing of Kenny Rankin, one of the smoothest and most sophisticated singer/songwriters of the past 40 years. Kenny was a masterful singer and guitar player, his instrument accompanying his voice with a blend that few other musicians have been able to achieve. Although her preferred very simple arrangements of his songs, his style was deceptive. An educated musician, Rankin was able to hover gracefully over the categories of pop, folk, and jazz, gently blending the styles into one that can only be described as Kenny Rankin.
I was introduced to Kenny's music by Jim Thornber, my college roomate (another debt of gratitude I owe you, Jim) in about 1982. I would count that as a seminal experience for me as I began my migration toward jazz. One of the first things that seduced me about Rankin's music was his use of the nylon string guitar as an accompaniment. To that point in my life, the nylon string guitar belonged either to the classical world, or to ill-educated folkies who ploughed flatpicks through the strings with little regard to subtlety or grace (apologies at this point to Willie Nelson who also uses a flatpick on a nylon string guitar, but does so with emminent skill). Kenny Rankin defied my pre-conceptions, using his fingers to elicit a tone from his guitar that so perfectly matched his voice it was difficult to tell where on ended and the other began. His music was perfectly at home in any venue, as great skill always is!
To those who are not familiar with Kenny Rankin, let me recommend the following albums.
- "The Kenny Rankin Album," 1985
- "Silver Morning," 1975

Wednesday, June 3, 2009
The Completion of Old Blue
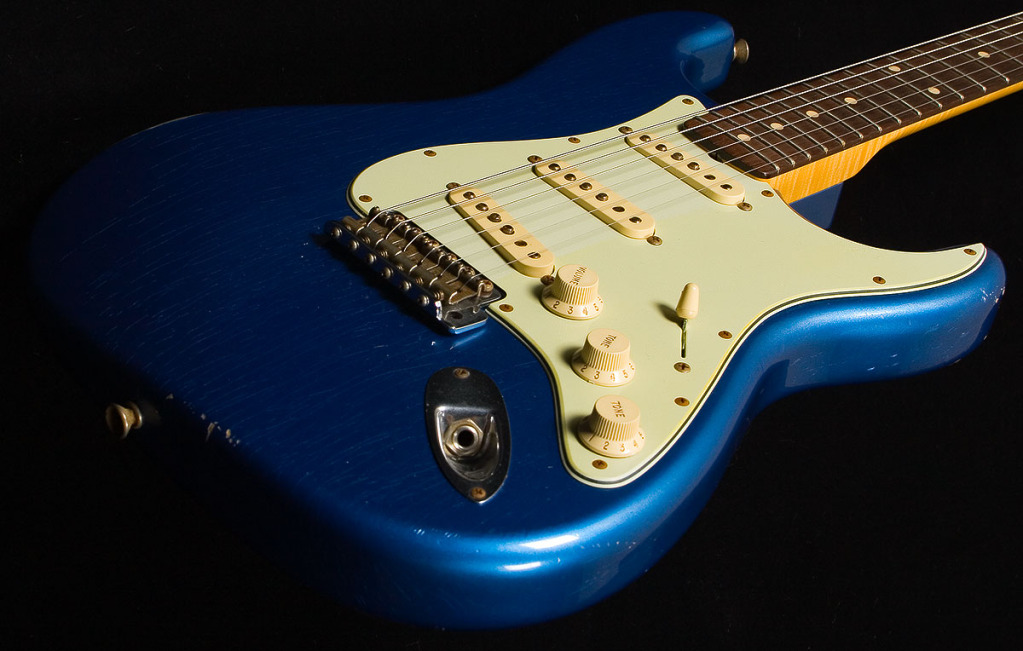
 Well, Old Blue is back up and running, sounding "strattier" than ever. I received my tremolo bridge from Guitar Fetish yesterday. It came complete with all screws, springs, and a vintage-look arm. I had made a few preliminary measurements on the guitar, so I knew where the bridge had to be located. What I needed to do next was align the bridge so that the saddles would allow the strings to pass over the pole pieces on the pickups. I made those measurements and marked on the surface of the guitar with a sharpee.
Having established the location of the bridge and verified
 that I have a 25 1/2" scale, I then secured the bridge to the guitar in place using some blue masking tape (to avoid marring the finish.) It was time, then, to drill holes for the mounting screws. The screws on a traditional strat tremolo are the fulcrum point for the bridge unit to move on. So, they need to be alligned properly. In this case, I decided to (very carefully) use the bridge itself as my drilling template. I did not want to damage the chrome, but I also did not want to introduce any errors into the drillin
 g.
g.So, first I measured the screws to determine the hole depth. I also checked the diameter of the screw against my various drill bits. Then, using a drill press (to get a true 90 degree hole) I created 6 hole to a depth of 7/8" in the guitar body.
When I had this done, I could then secure the bridge to the body.

The next step is to mount the trem springs in the back cavity of the guitar.
 Then comes the adjustments. Once you string up the guitar, the bridge has to be intonated, the tension adjusted using the screws on the bridge, and the string height and radius set. Once all that is done, VOILA! You have a functioning Fender Stratocaster (Fender, Strat, Stratocaster are all copyrighted trademarks of Fender Guitars).
Subscribe to:
Comments (Atom)


